
Today I am sharing tips and tricks for beautifully wrapped gifts. All the sources for wrapping paper you’ve seen on DoSayGive this season are also linked below.
Buy Quality Wrapping Paper:
You live and learn with cheap wrapping paper. It’s so frustrating when you are folding corners and the cheap stuff tears! Save your sanity – and probably some paper – and buy thick, quality paper.
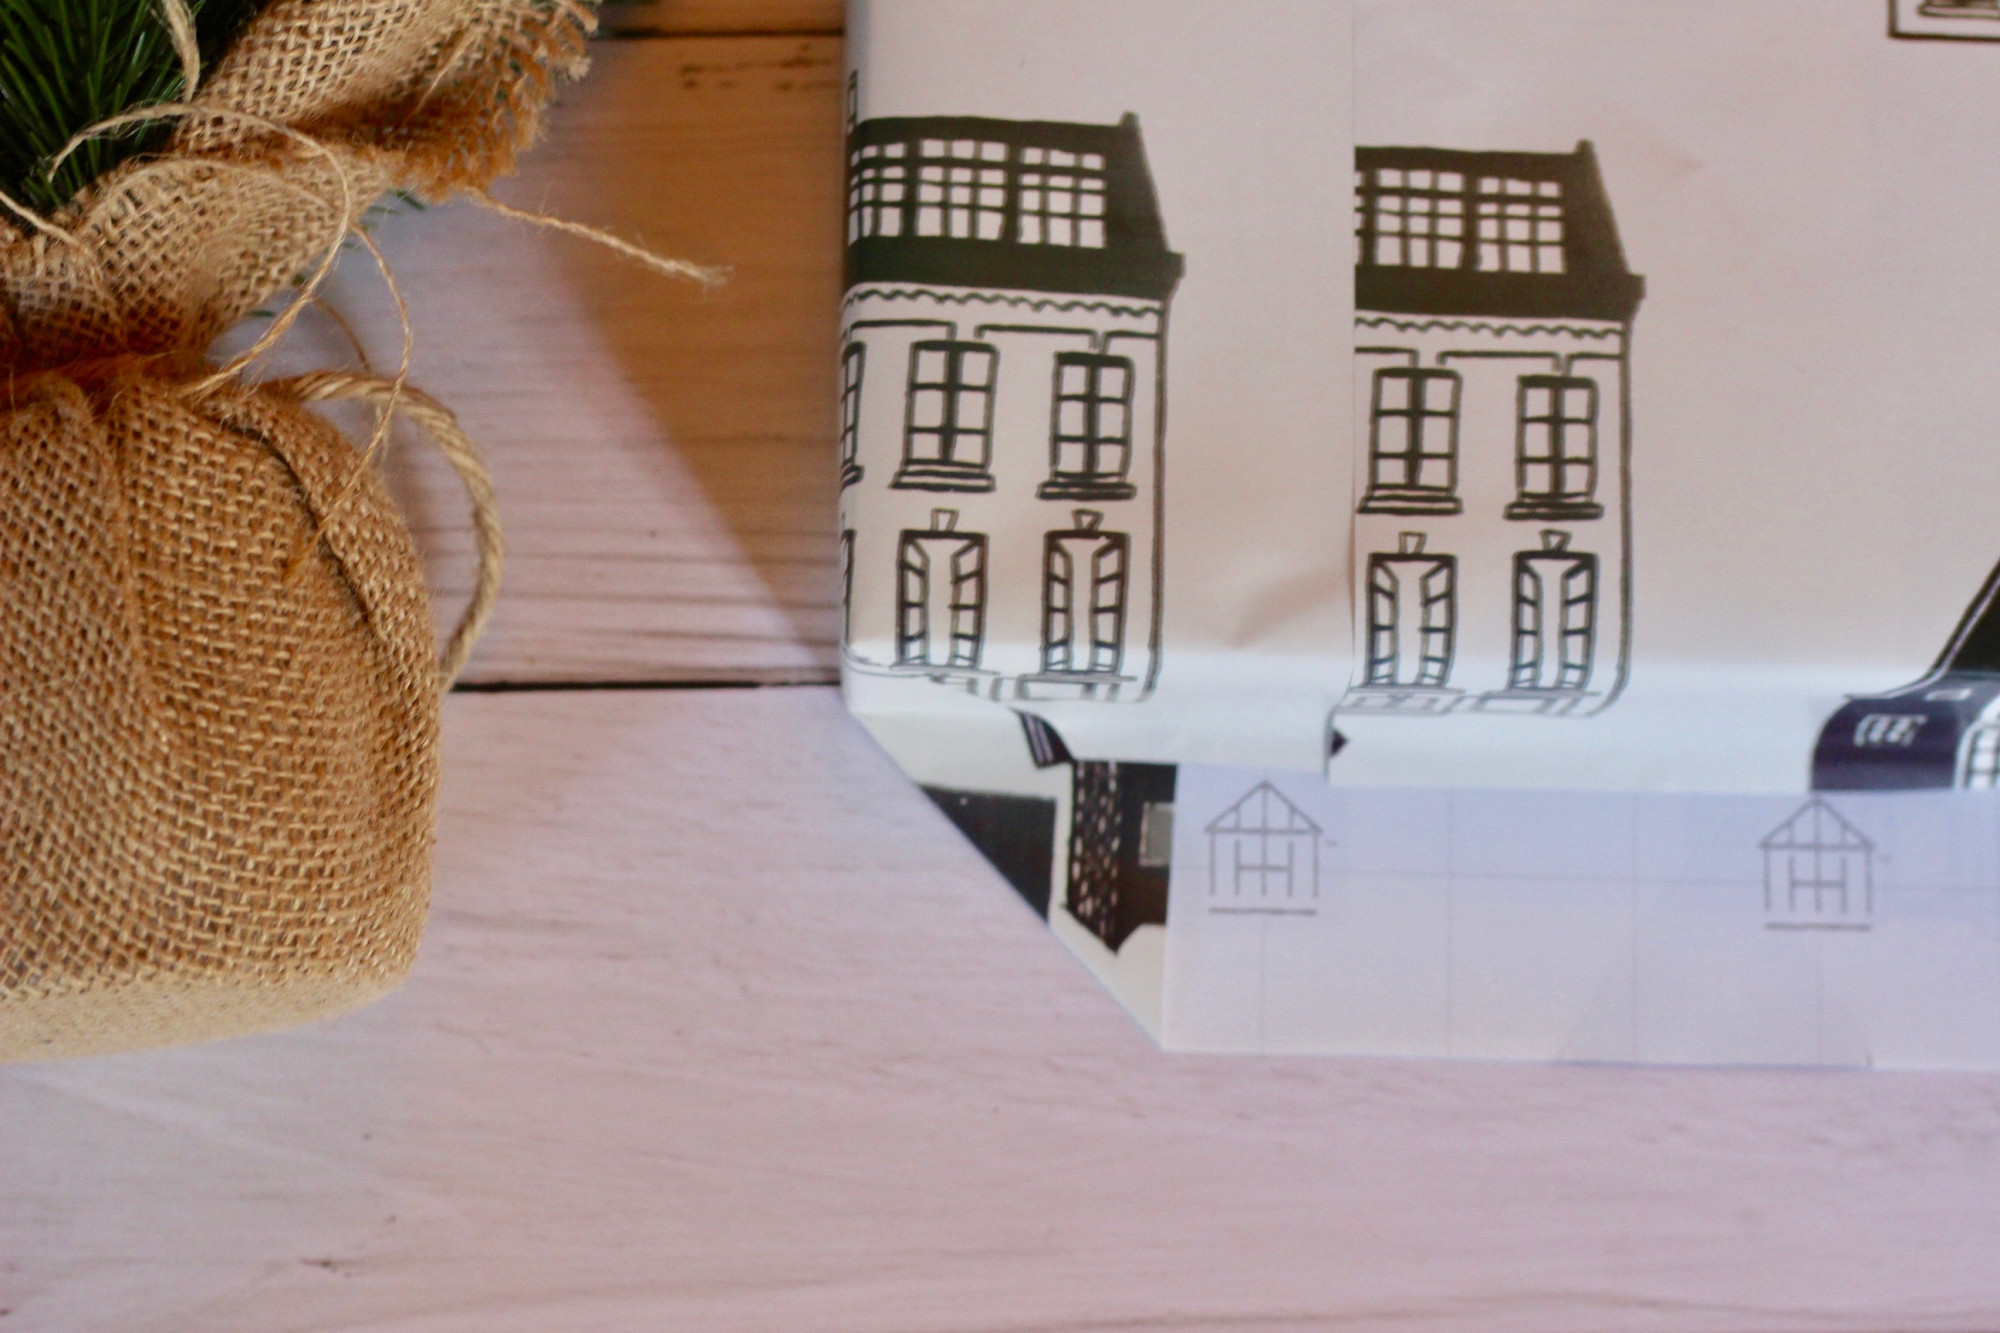
My favorite wrapping paper is from The Container Store, but my mom loves the discounted paper she finds at Tuesday Morning. You can also find nice paper at Hobby Lobby and Costco. The Sugar Paper for Target paper is top notch, too.
Also, try to choose paper that has a grid printed on the back. This will help you line the box up and creates beautiful corners.
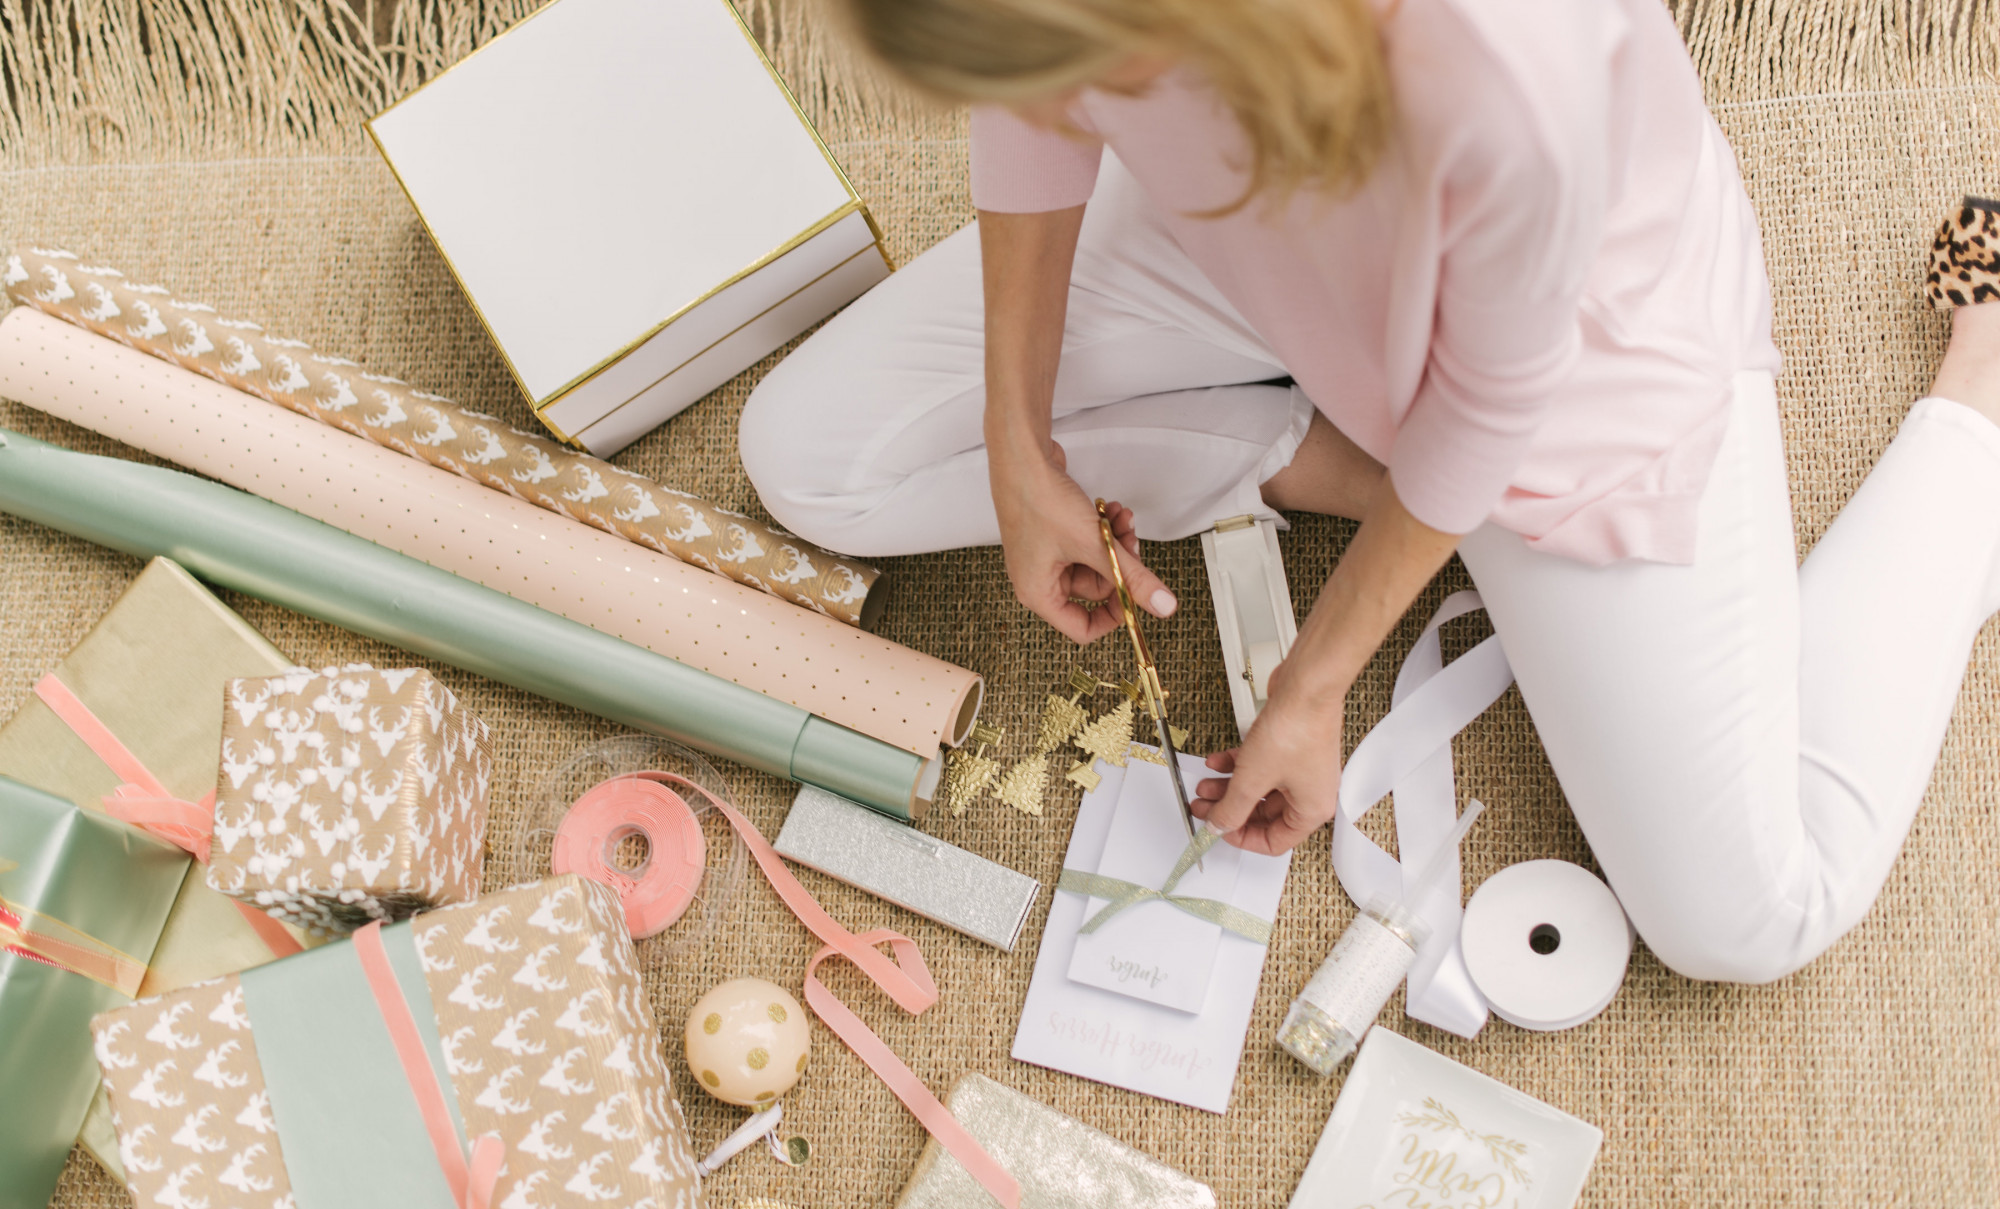
Choose A Beautiful Palette:
I walk around the Gift Wrap Wonderland at The Container Store for a good long while, holding up rolls next to each other and seeing what looks best together. (Not normal, I know, but I know these gifts have to photograph beautifully for the blog!)
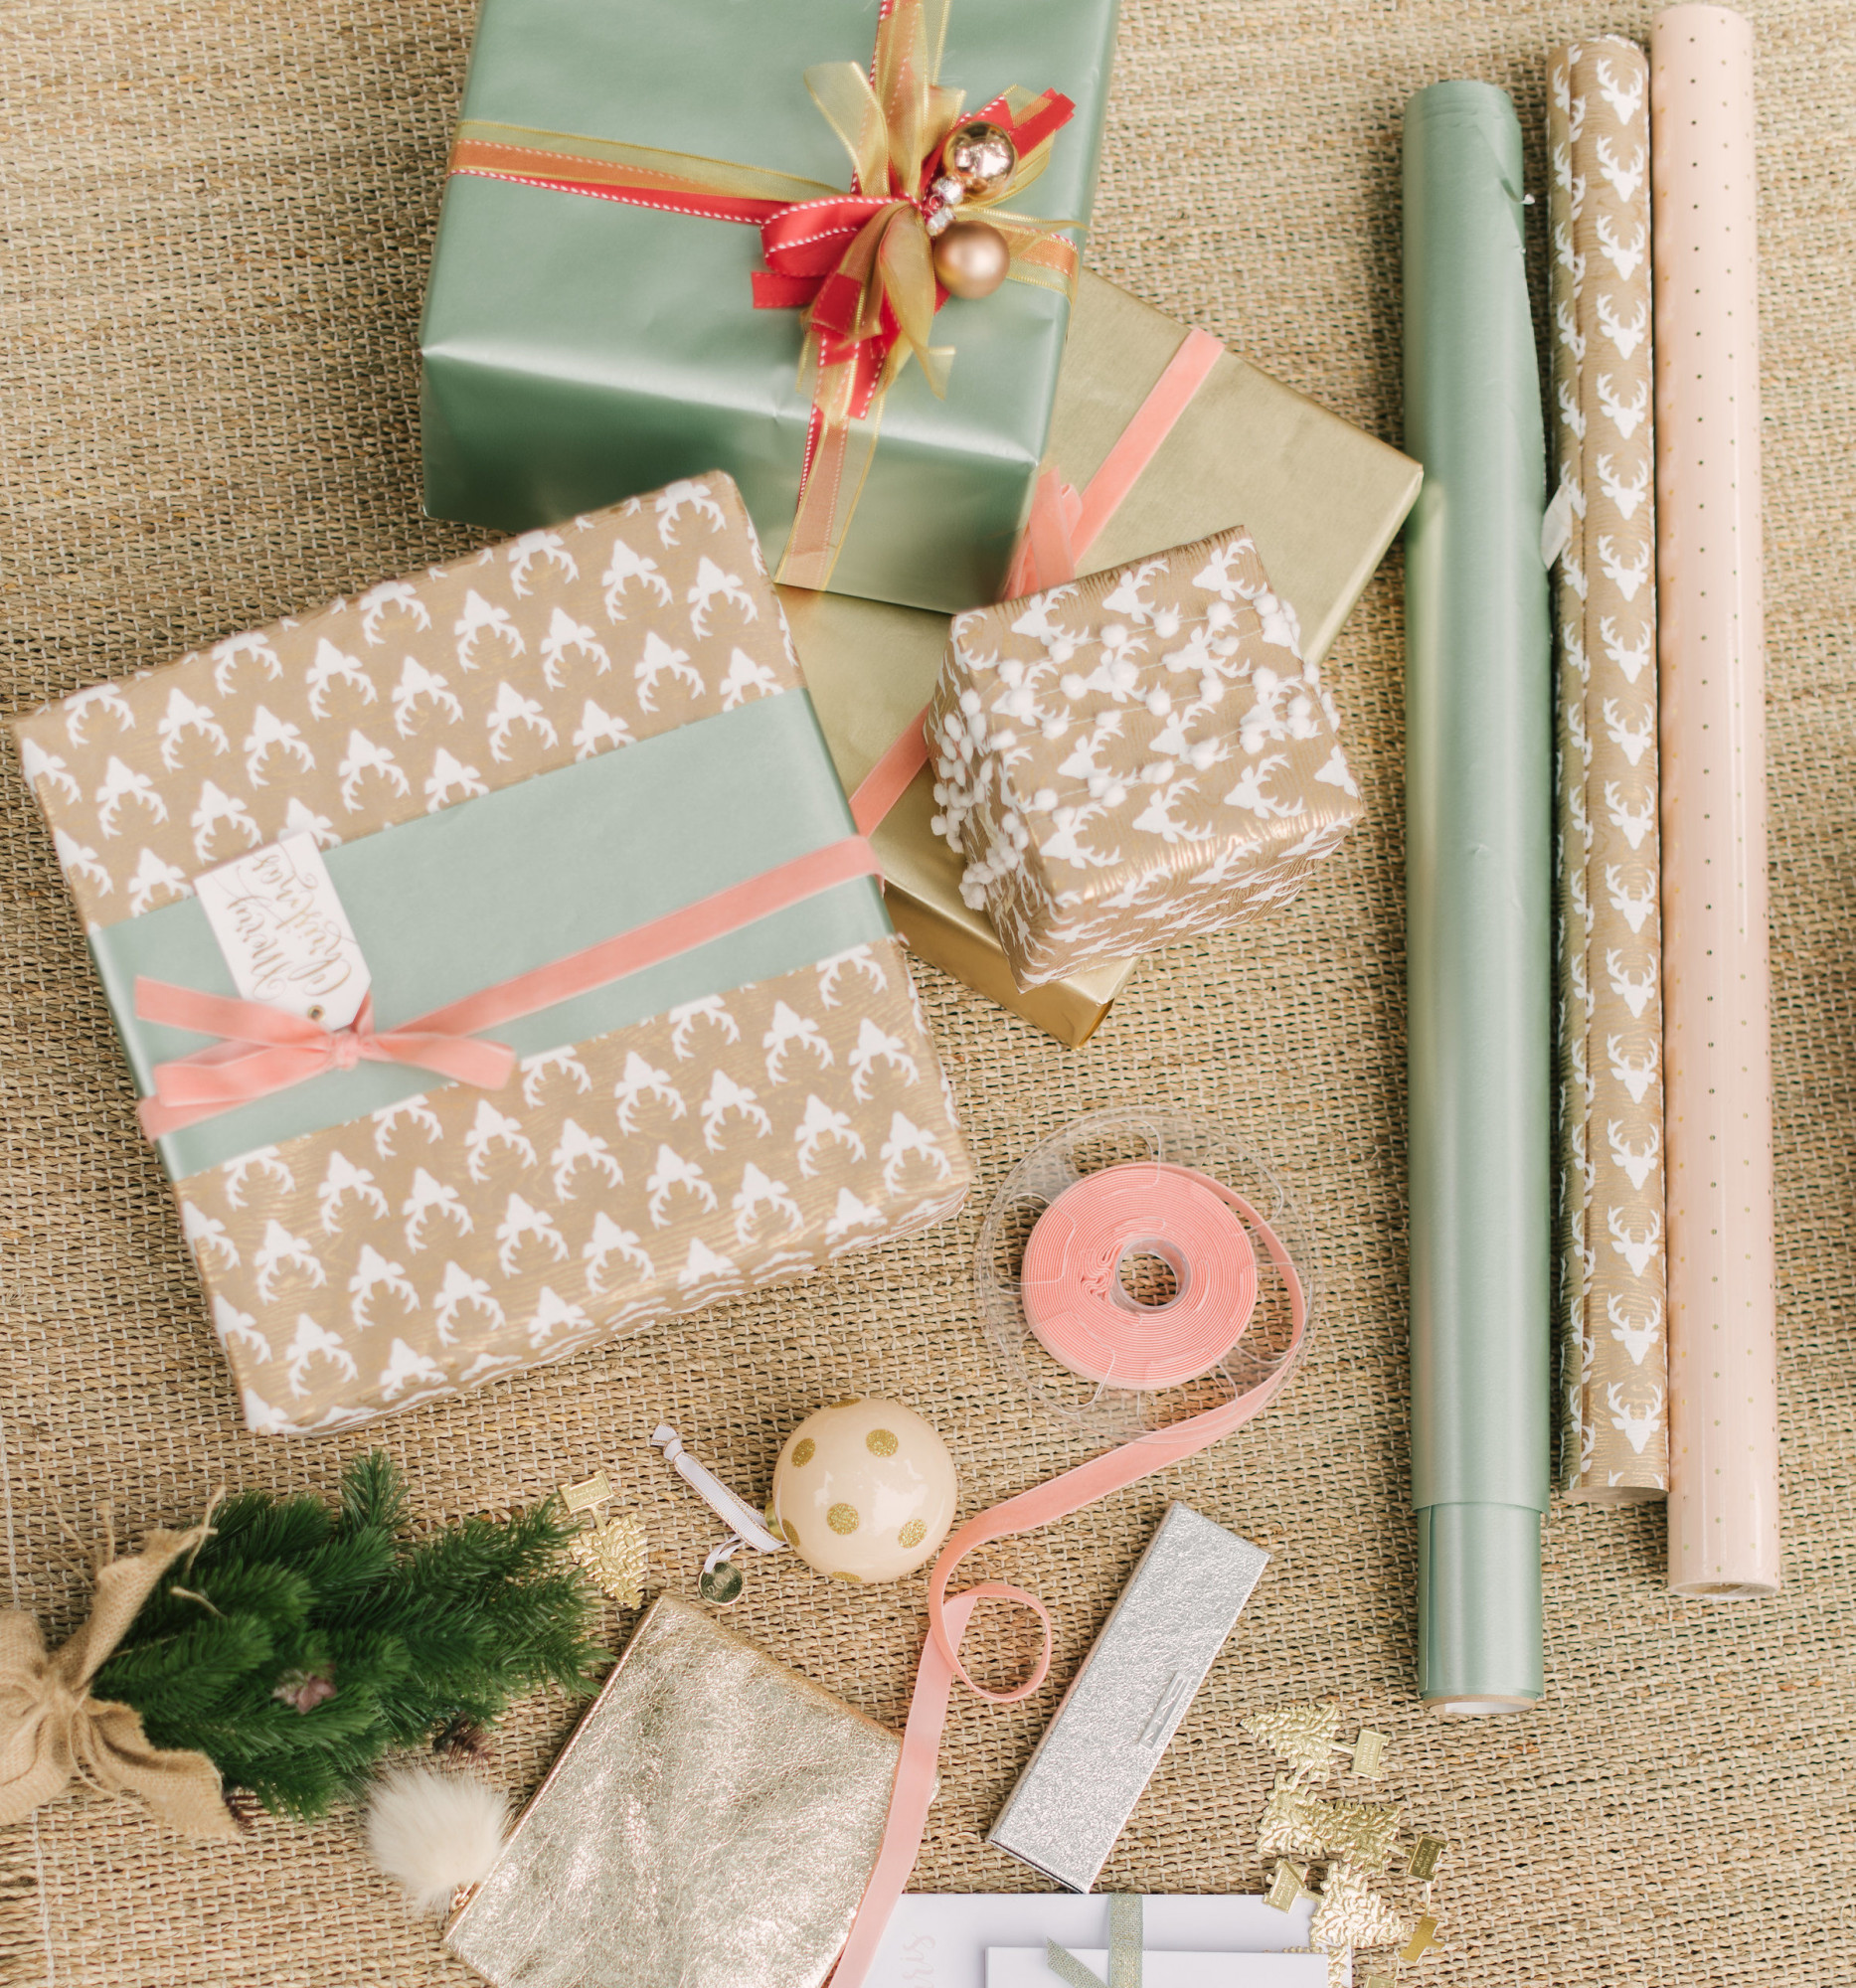
I usually choose 3-4 different ones. At least two patterned rolls and one solid color that coordinate. In my opinion, it’s better to buy more rolls of the same paper than 8 different patterns. Gives a more uniform look to your gifts. Some people I know will use the same paper year after year so recipients come to recognize “Grandma’s” gifts!
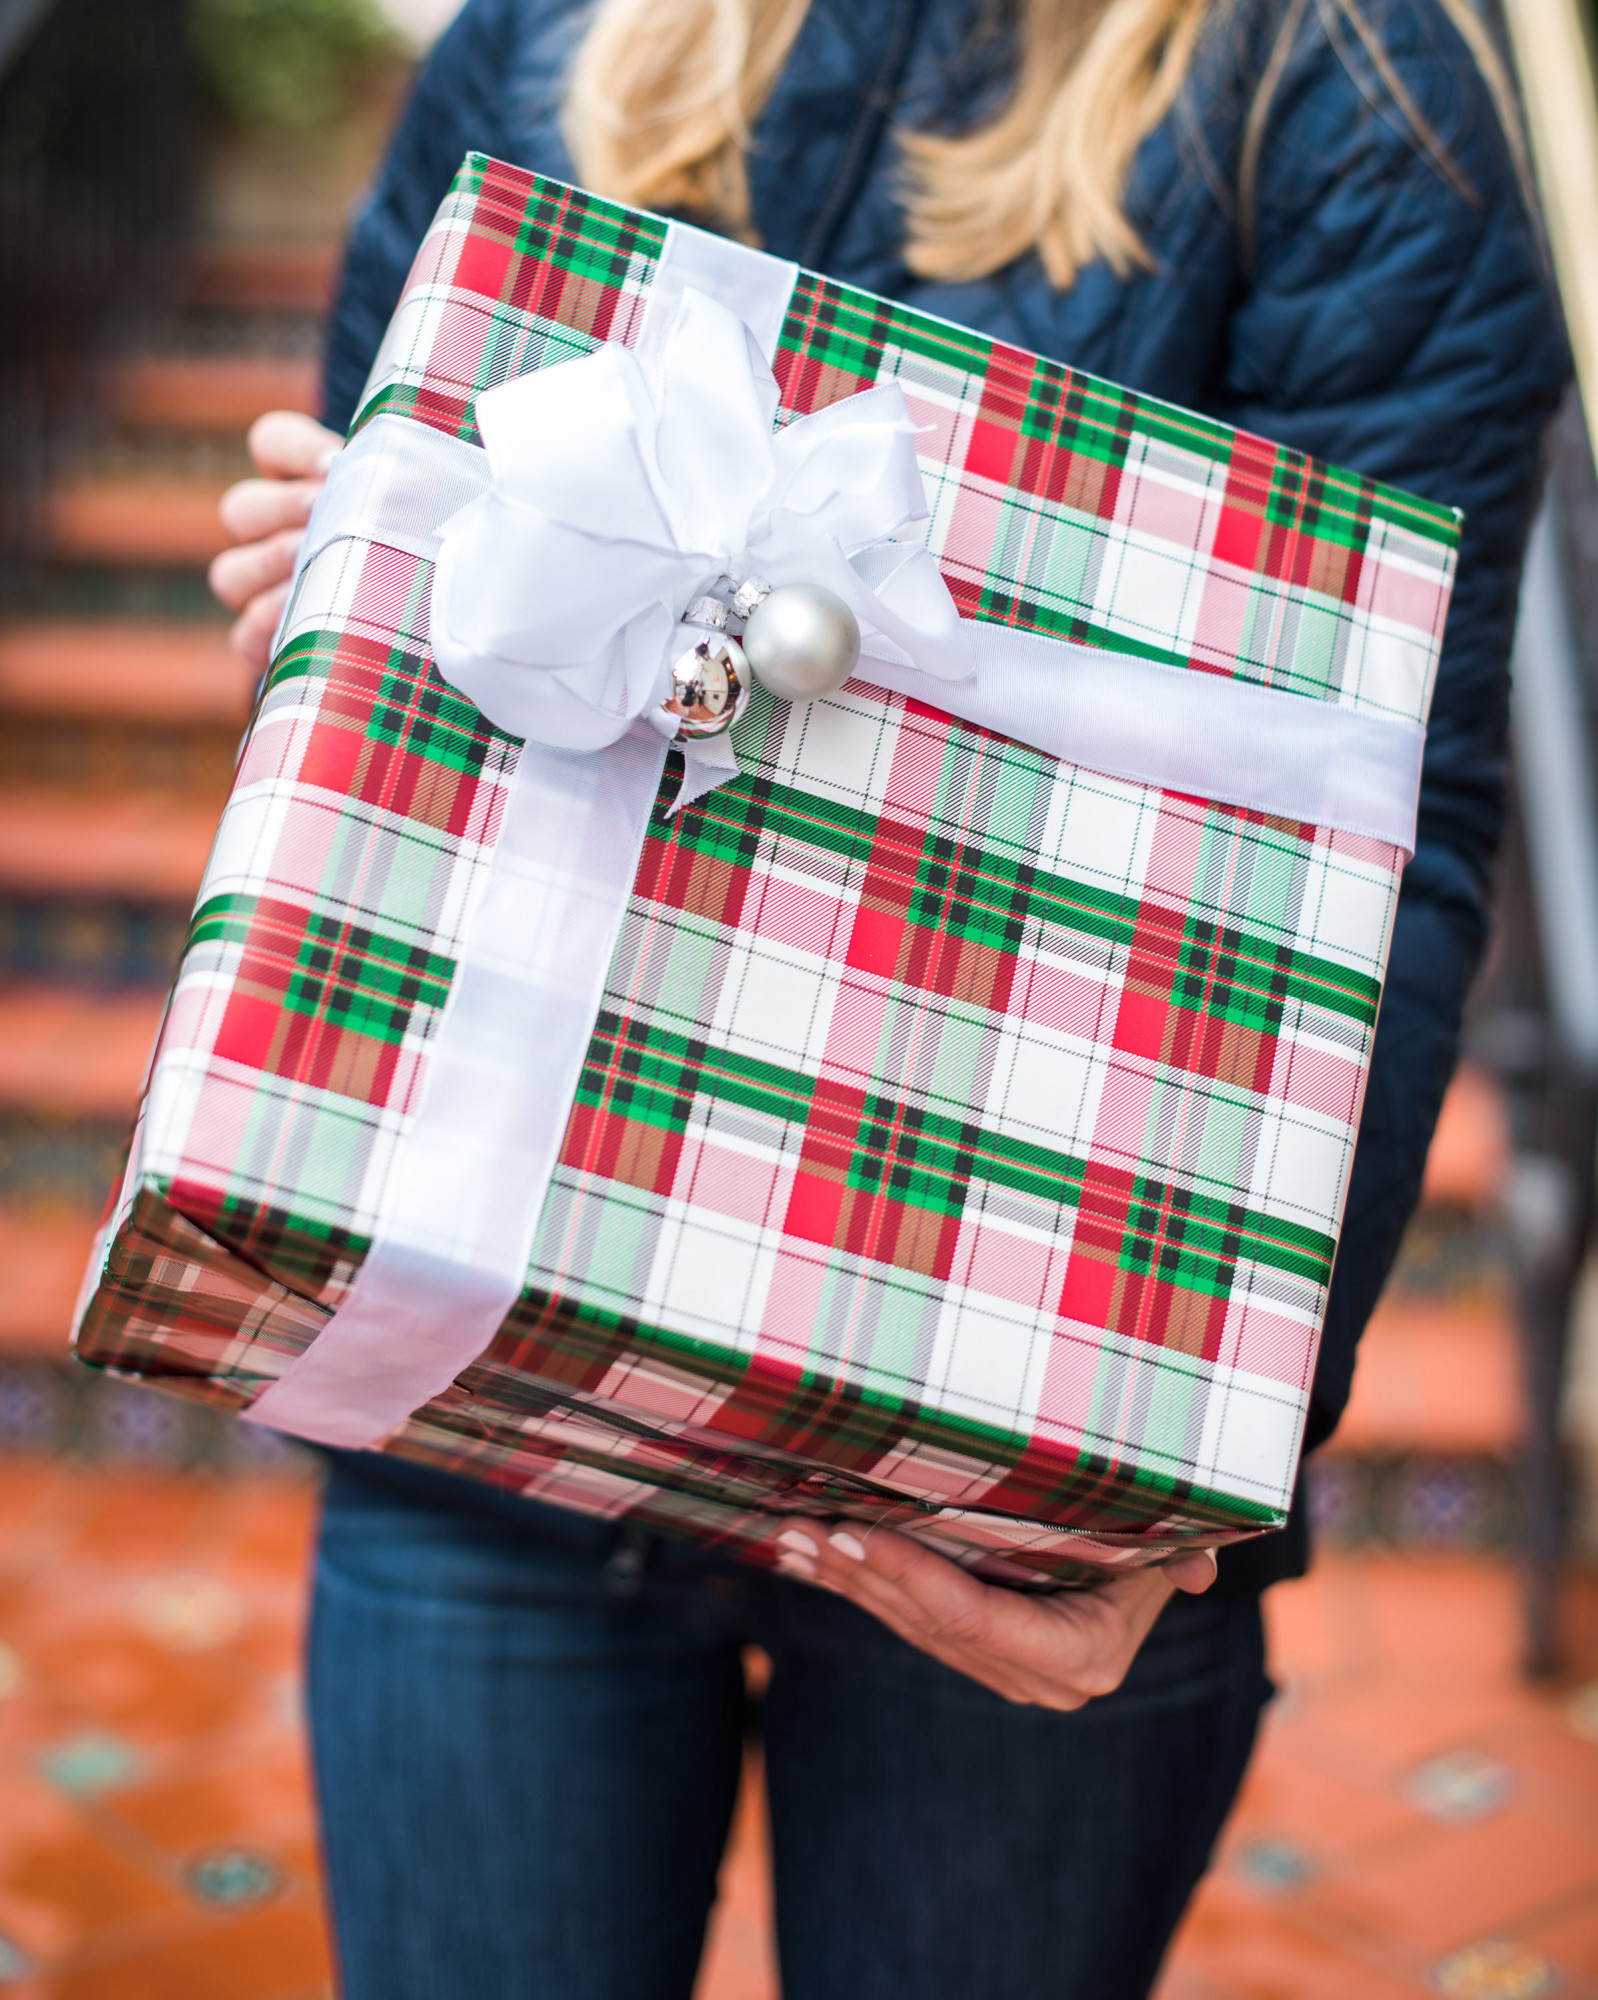
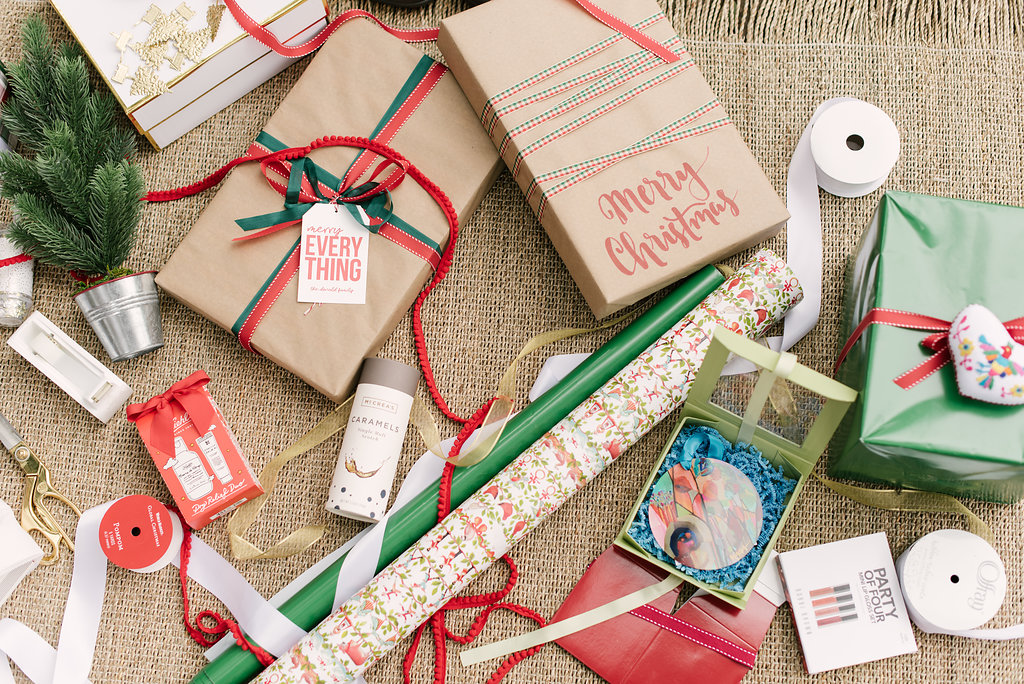
Here is an elegant holiday palette using patterns that aren’t “holiday” but look festive and refined when put together with the right ribbon and accessories.
Shop this palette:

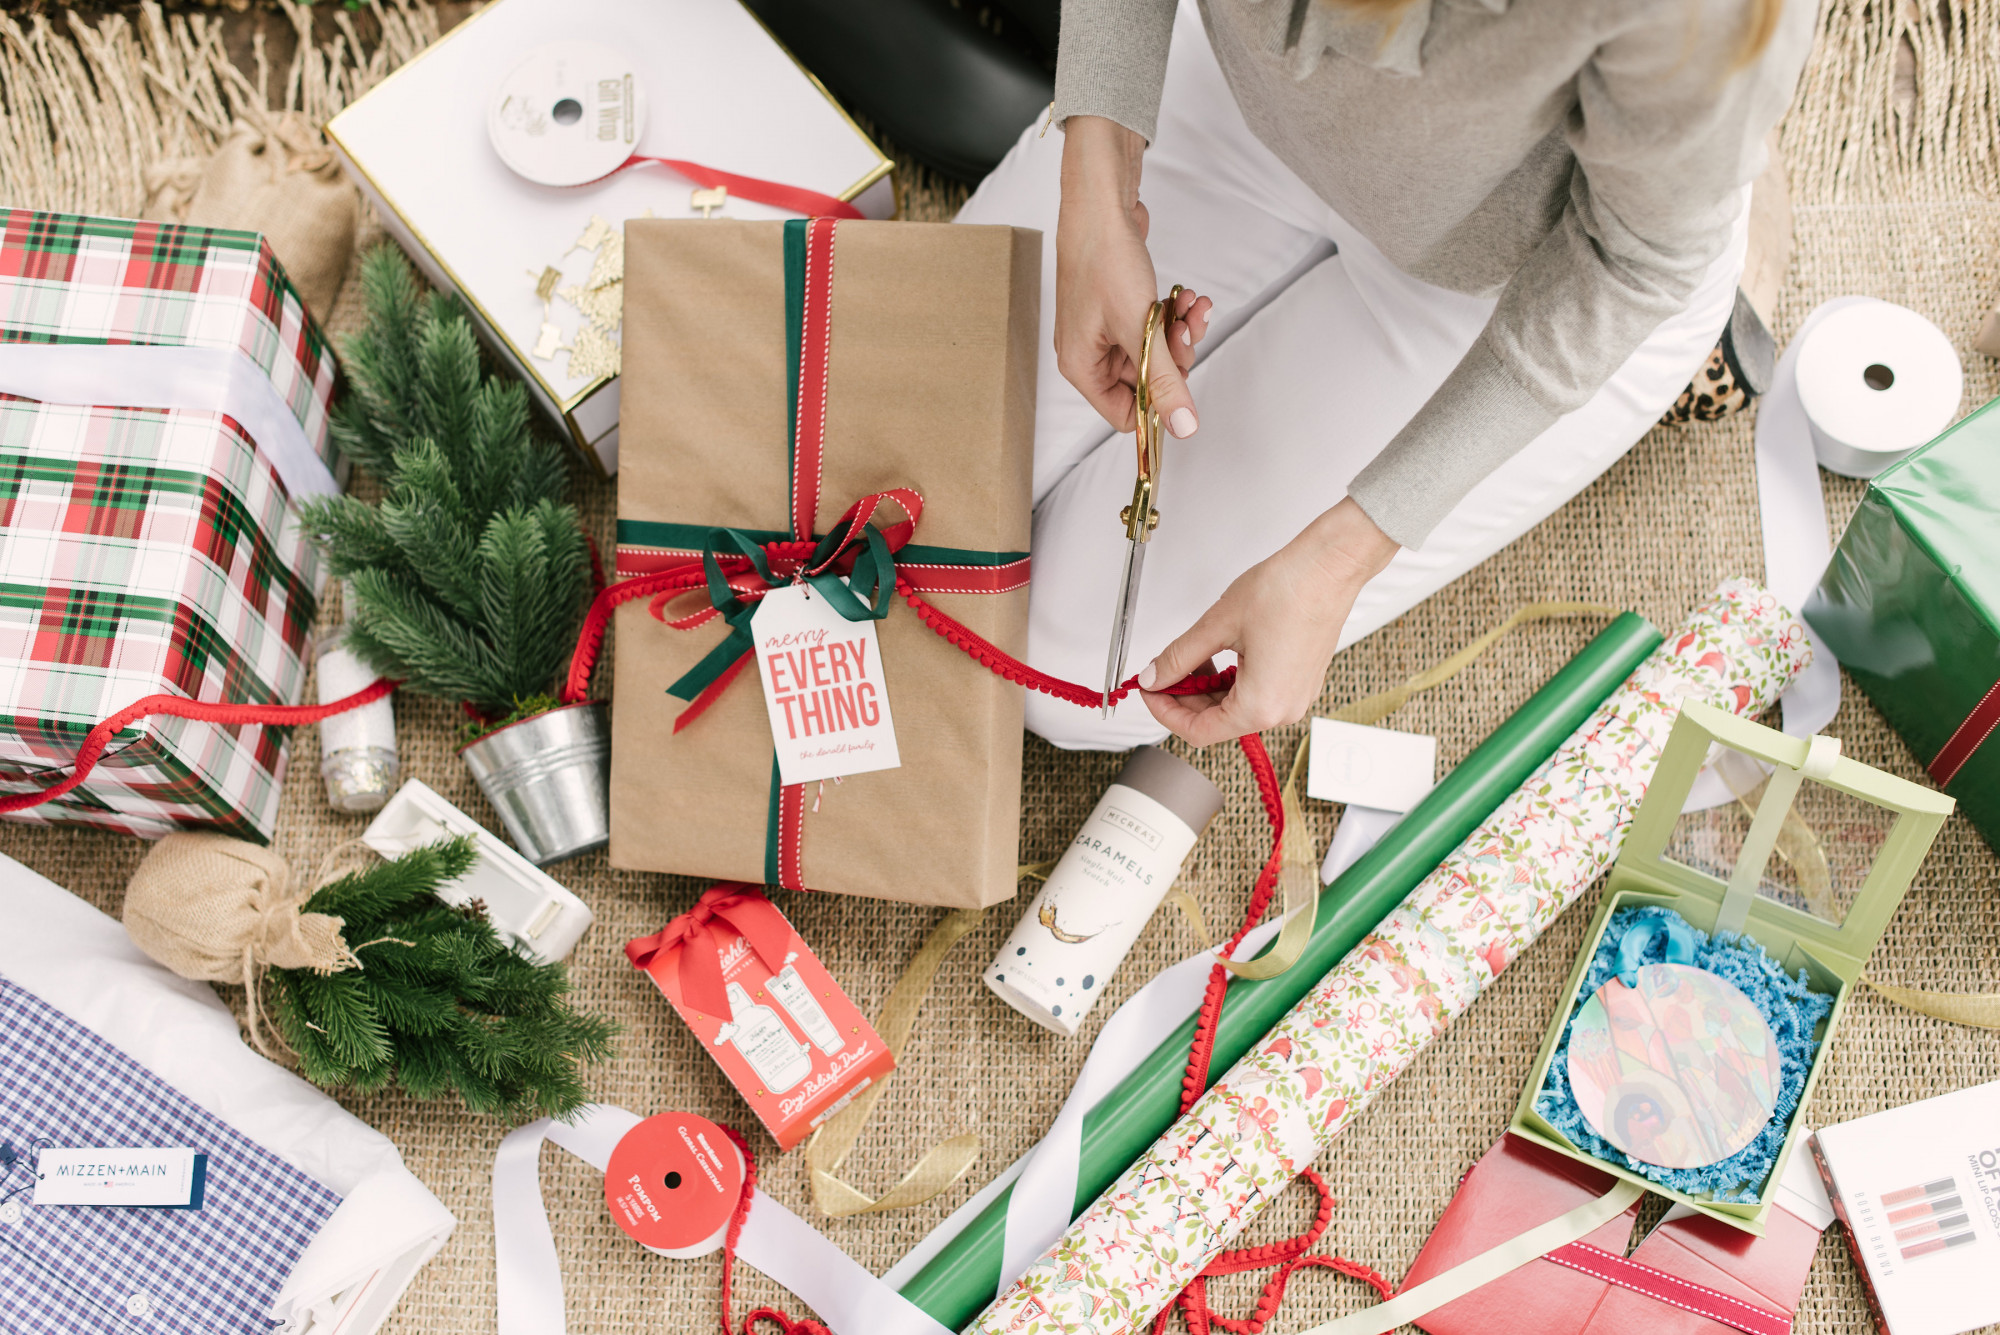
Here is a classic red and green Christmas palette:
Shop this Palette:
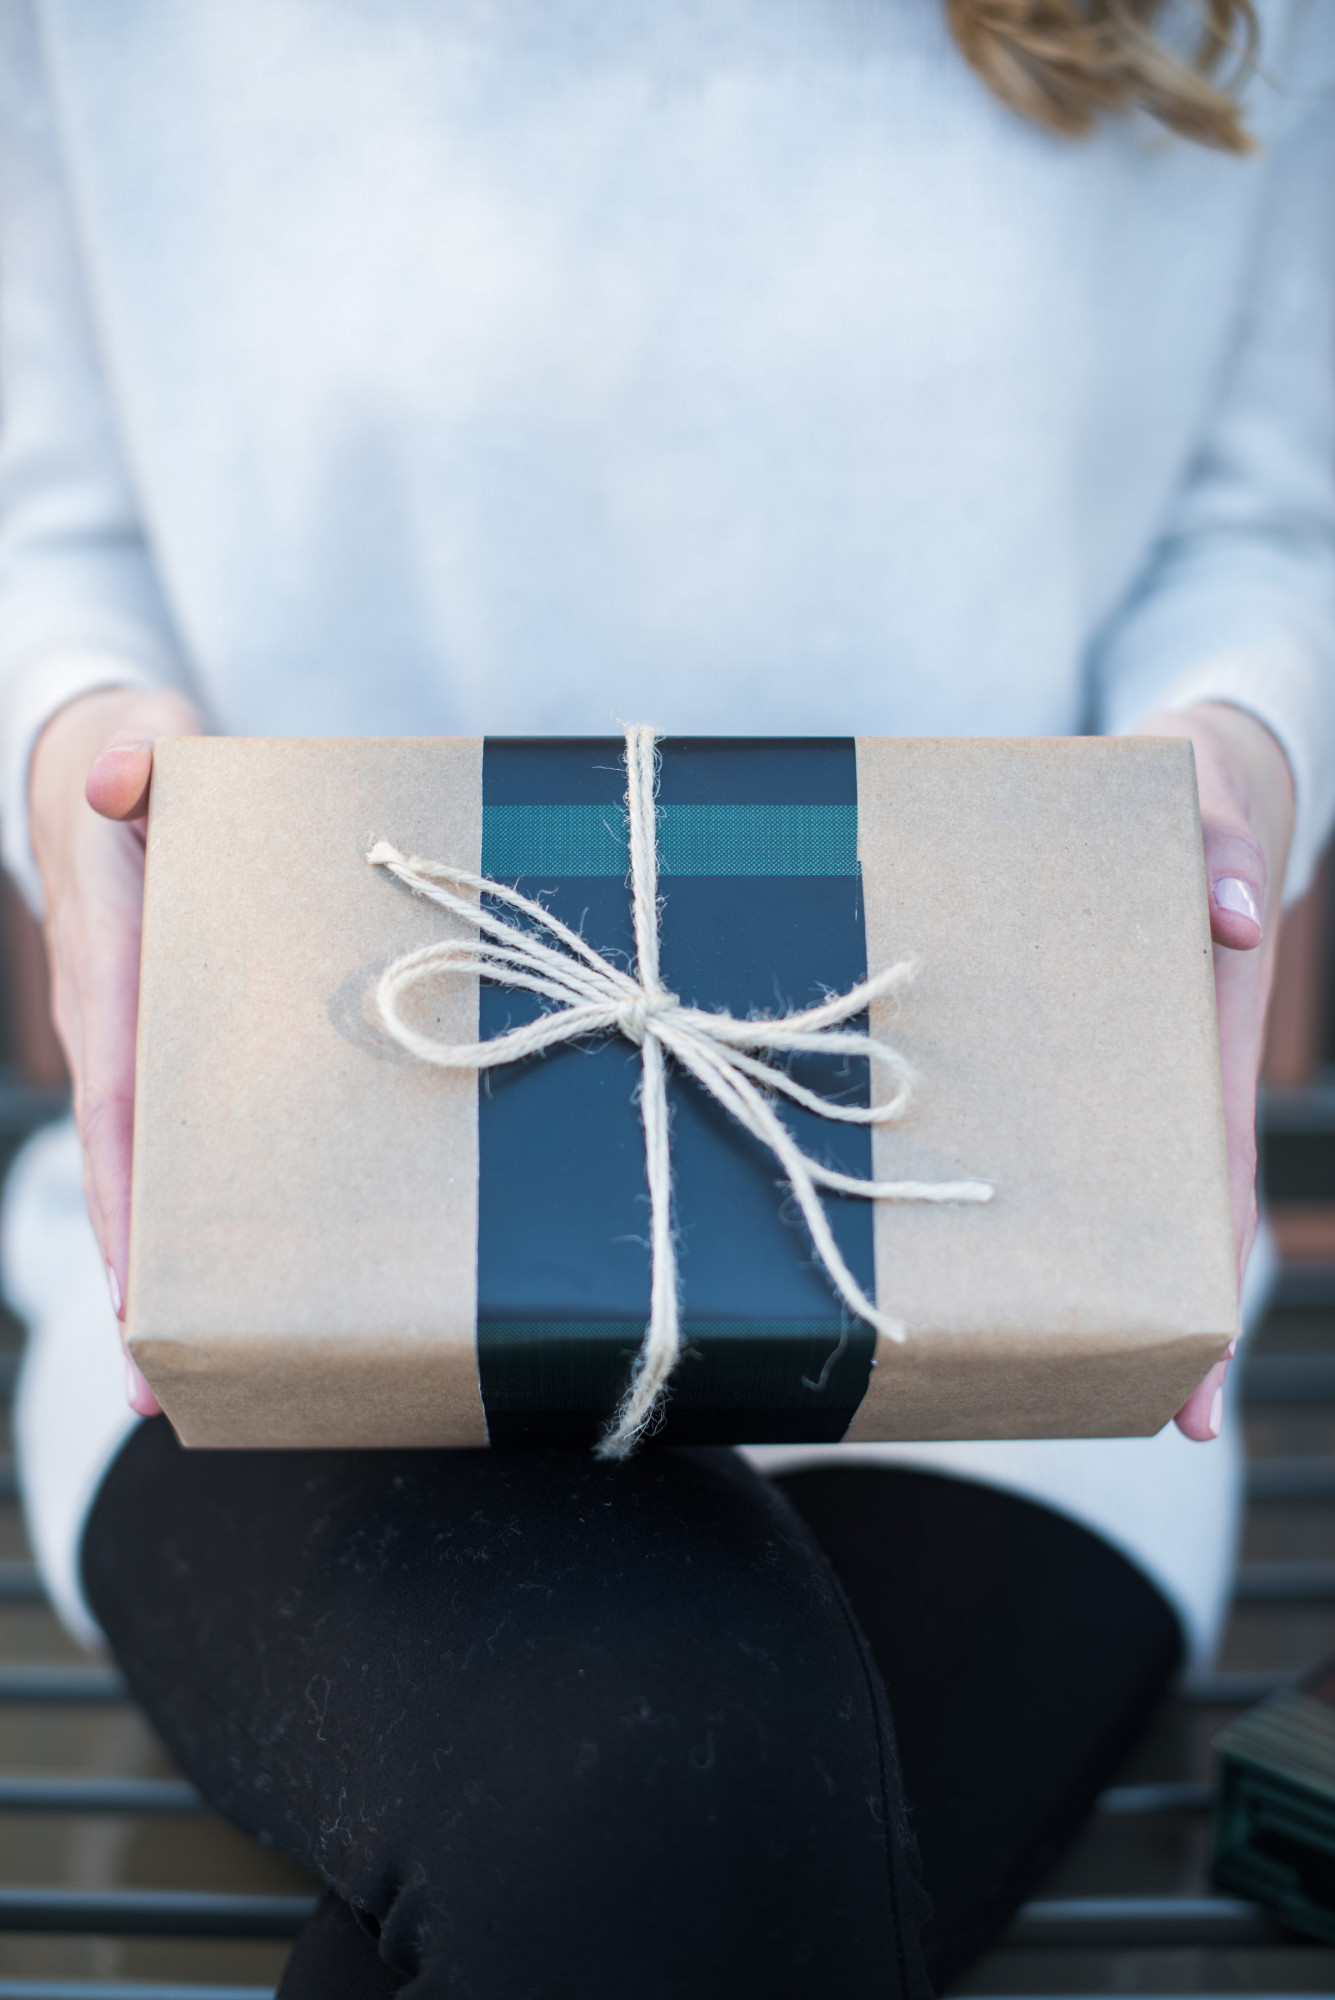
Here is a more modern palette:

Shop this palette:
Have the right tools
Besides quality wrapping paper, make sure you have enough boxes and ribbon and the right tools. Sharp scissors are a must as are gift wrap tape and double sided tape. 
When using thicker wrapping paper, gift wrap tape is better for taping the bigger sides of the paper to the box. But double sided tape is better for the smaller ends and corners. (Although some use double sided tape for the entire gift – it’s just a matter of preference!)
Make sure you are wrapping on a large flat surface, like a large kitchen or dining room table. This bigger the space, the easier it is to create the perfect lines you need.
Know how to fold corners like a pro.
The key is to create seamless lines as you are taping the box. Note: you will use more tape than you think! This video from One Kings Lane describes what I am talking about perfectly.
Know how to tie a bow
The better the ribbon, the better the bow. Wired ribbon helps you make bigger bows that stick out and stay, while non wire ribbon creates a classic bow. The of course raffia, twine, and burlap ribbon give a more natural look. It really depends on what you like. I save most of the ribbon bows on gifts we receive and keep them in my gift wrapping armoire. Saves me so much money!
I wanted to make a how-to video but who can top Martha Stewart’s tutorials? The second and third bows are what I make most often.
Have fun with the accessories
Even though you only have 3-4 types of paper you can really make each gift stand out with fun ribbon and accessories. Think natural sprigs of pine, real holly from your backyard, candy canes, even bells and small ornaments add a nice touch.
Layering is an economical way to add some interest to your wrapping. This is just craft paper and a scrap paper cut off from another gift.
Side note: kraft paper is an essential wrapping tool in my home. You can get it at Michaels, Amazon, even Home Depot! And you can have fun with it. Even write on it.
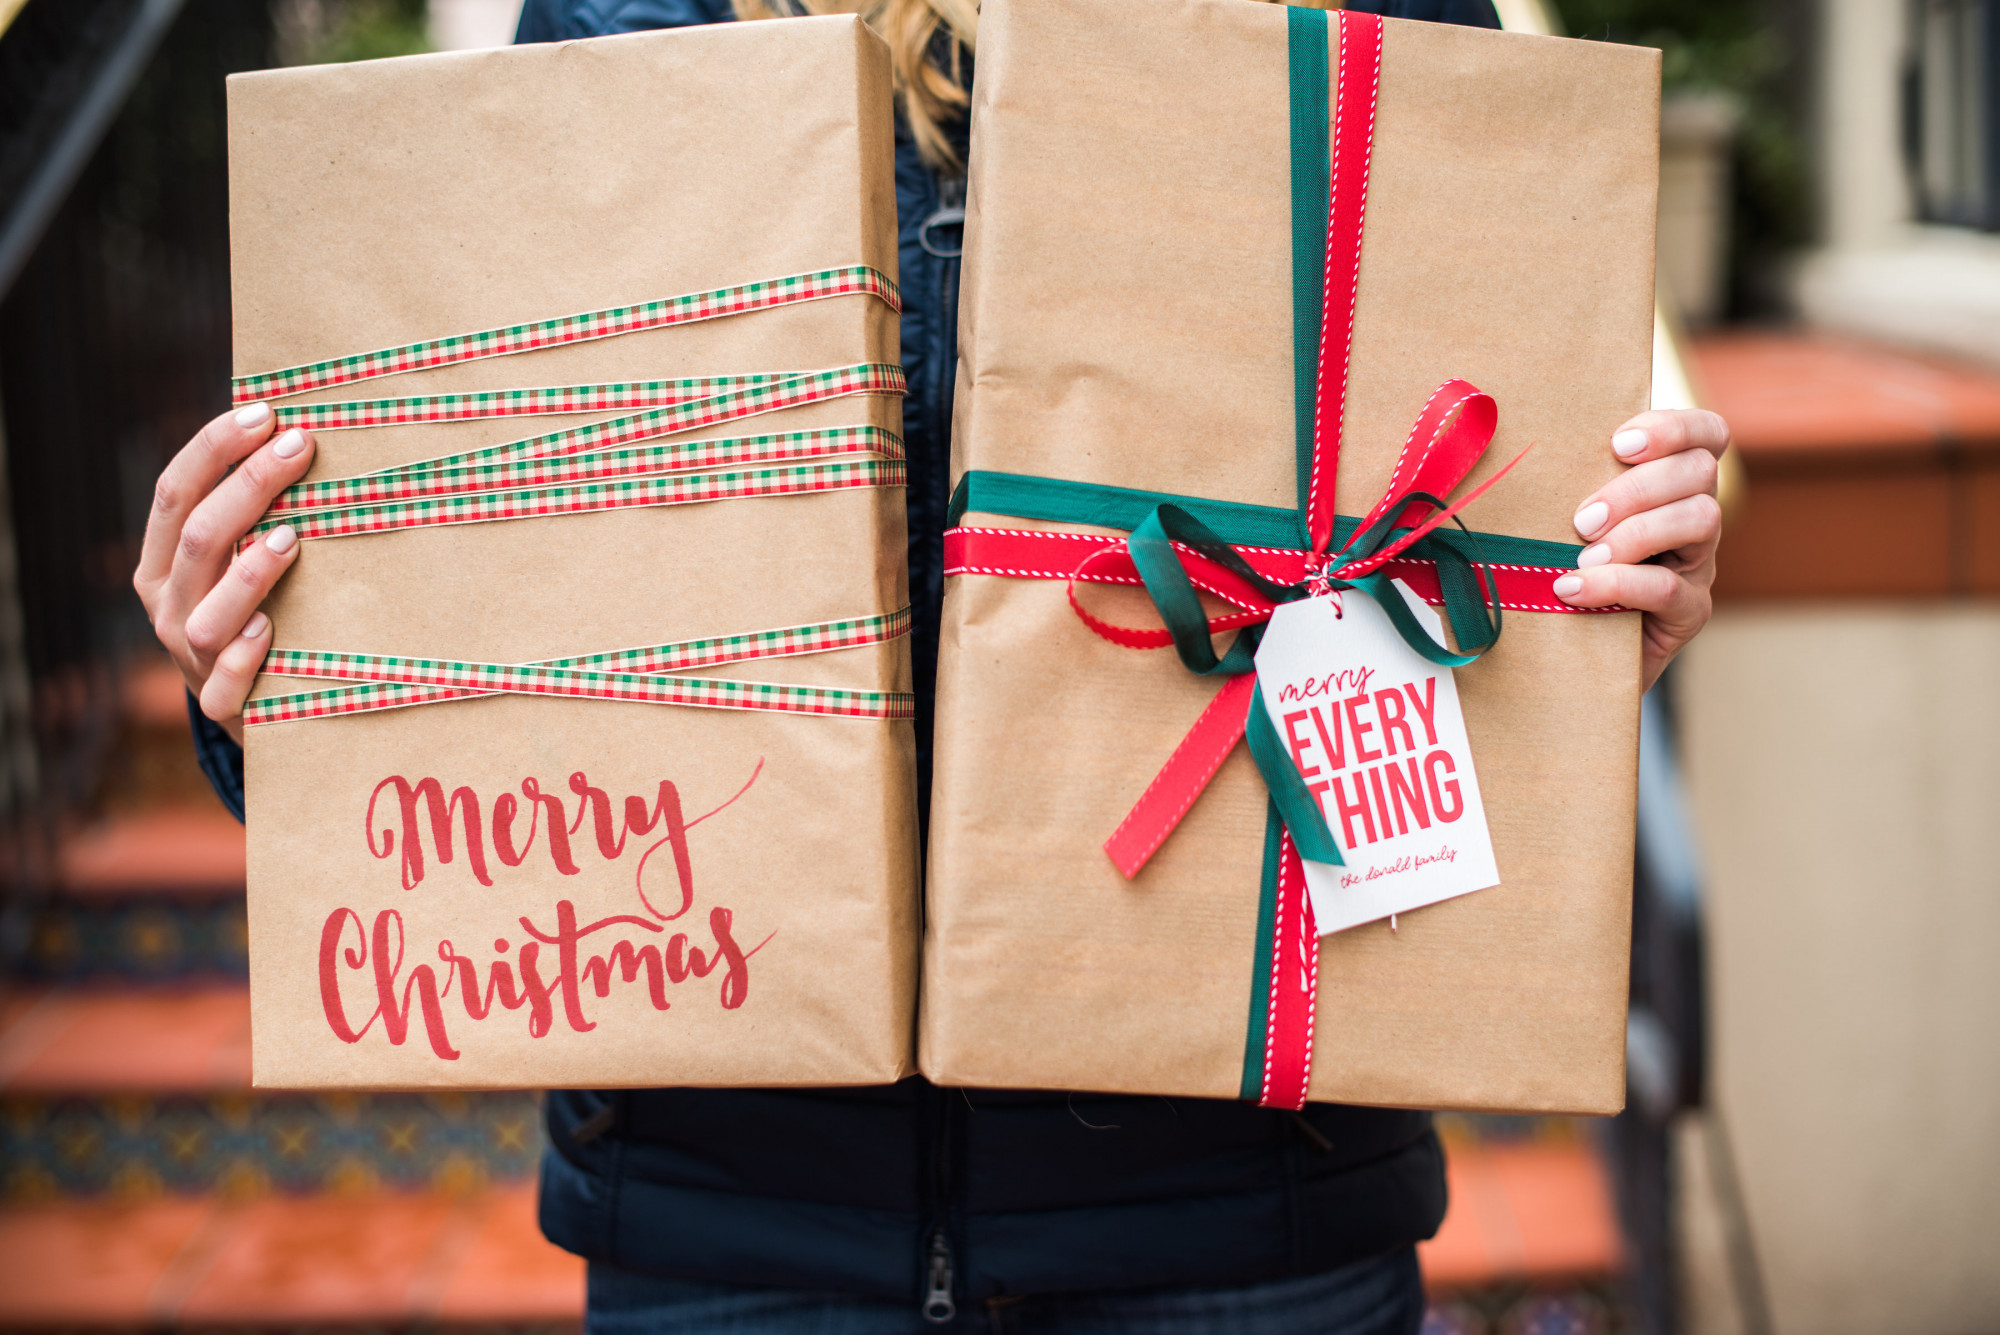
Oh and you don’t always have to tie a traditional bow. Try wrapping the ribbon around several times, especially for funky ribbon like this pom pom ribbon I found.
Hope this post inspired as you wrap the gifts you so lovingly chose!


What do you think?